Install Codex CLI (npm or Homebrew) and Connect It to Moyi API
Codex CLI is OpenAI's terminal-based AI coding assistant. Install it first (section 1), then connect it to Moyi API (section 2). If Codex is already installed, skip straight to section 2.
Quick install: with Node.js 22+, run npm install -g @openai/codex (or brew install codex on macOS), then check it with codex --version. To update later, run npm install -g @openai/codex@latest or brew upgrade codex.
New accounts start with a $0 balance — top up before your first request. Top up from $5. If a request fails with "wallet balance is insufficient" (Codex shows it as 400 Bad Request), your balance is empty — your base URL and key are fine. Top up and retry.
1. Install Codex
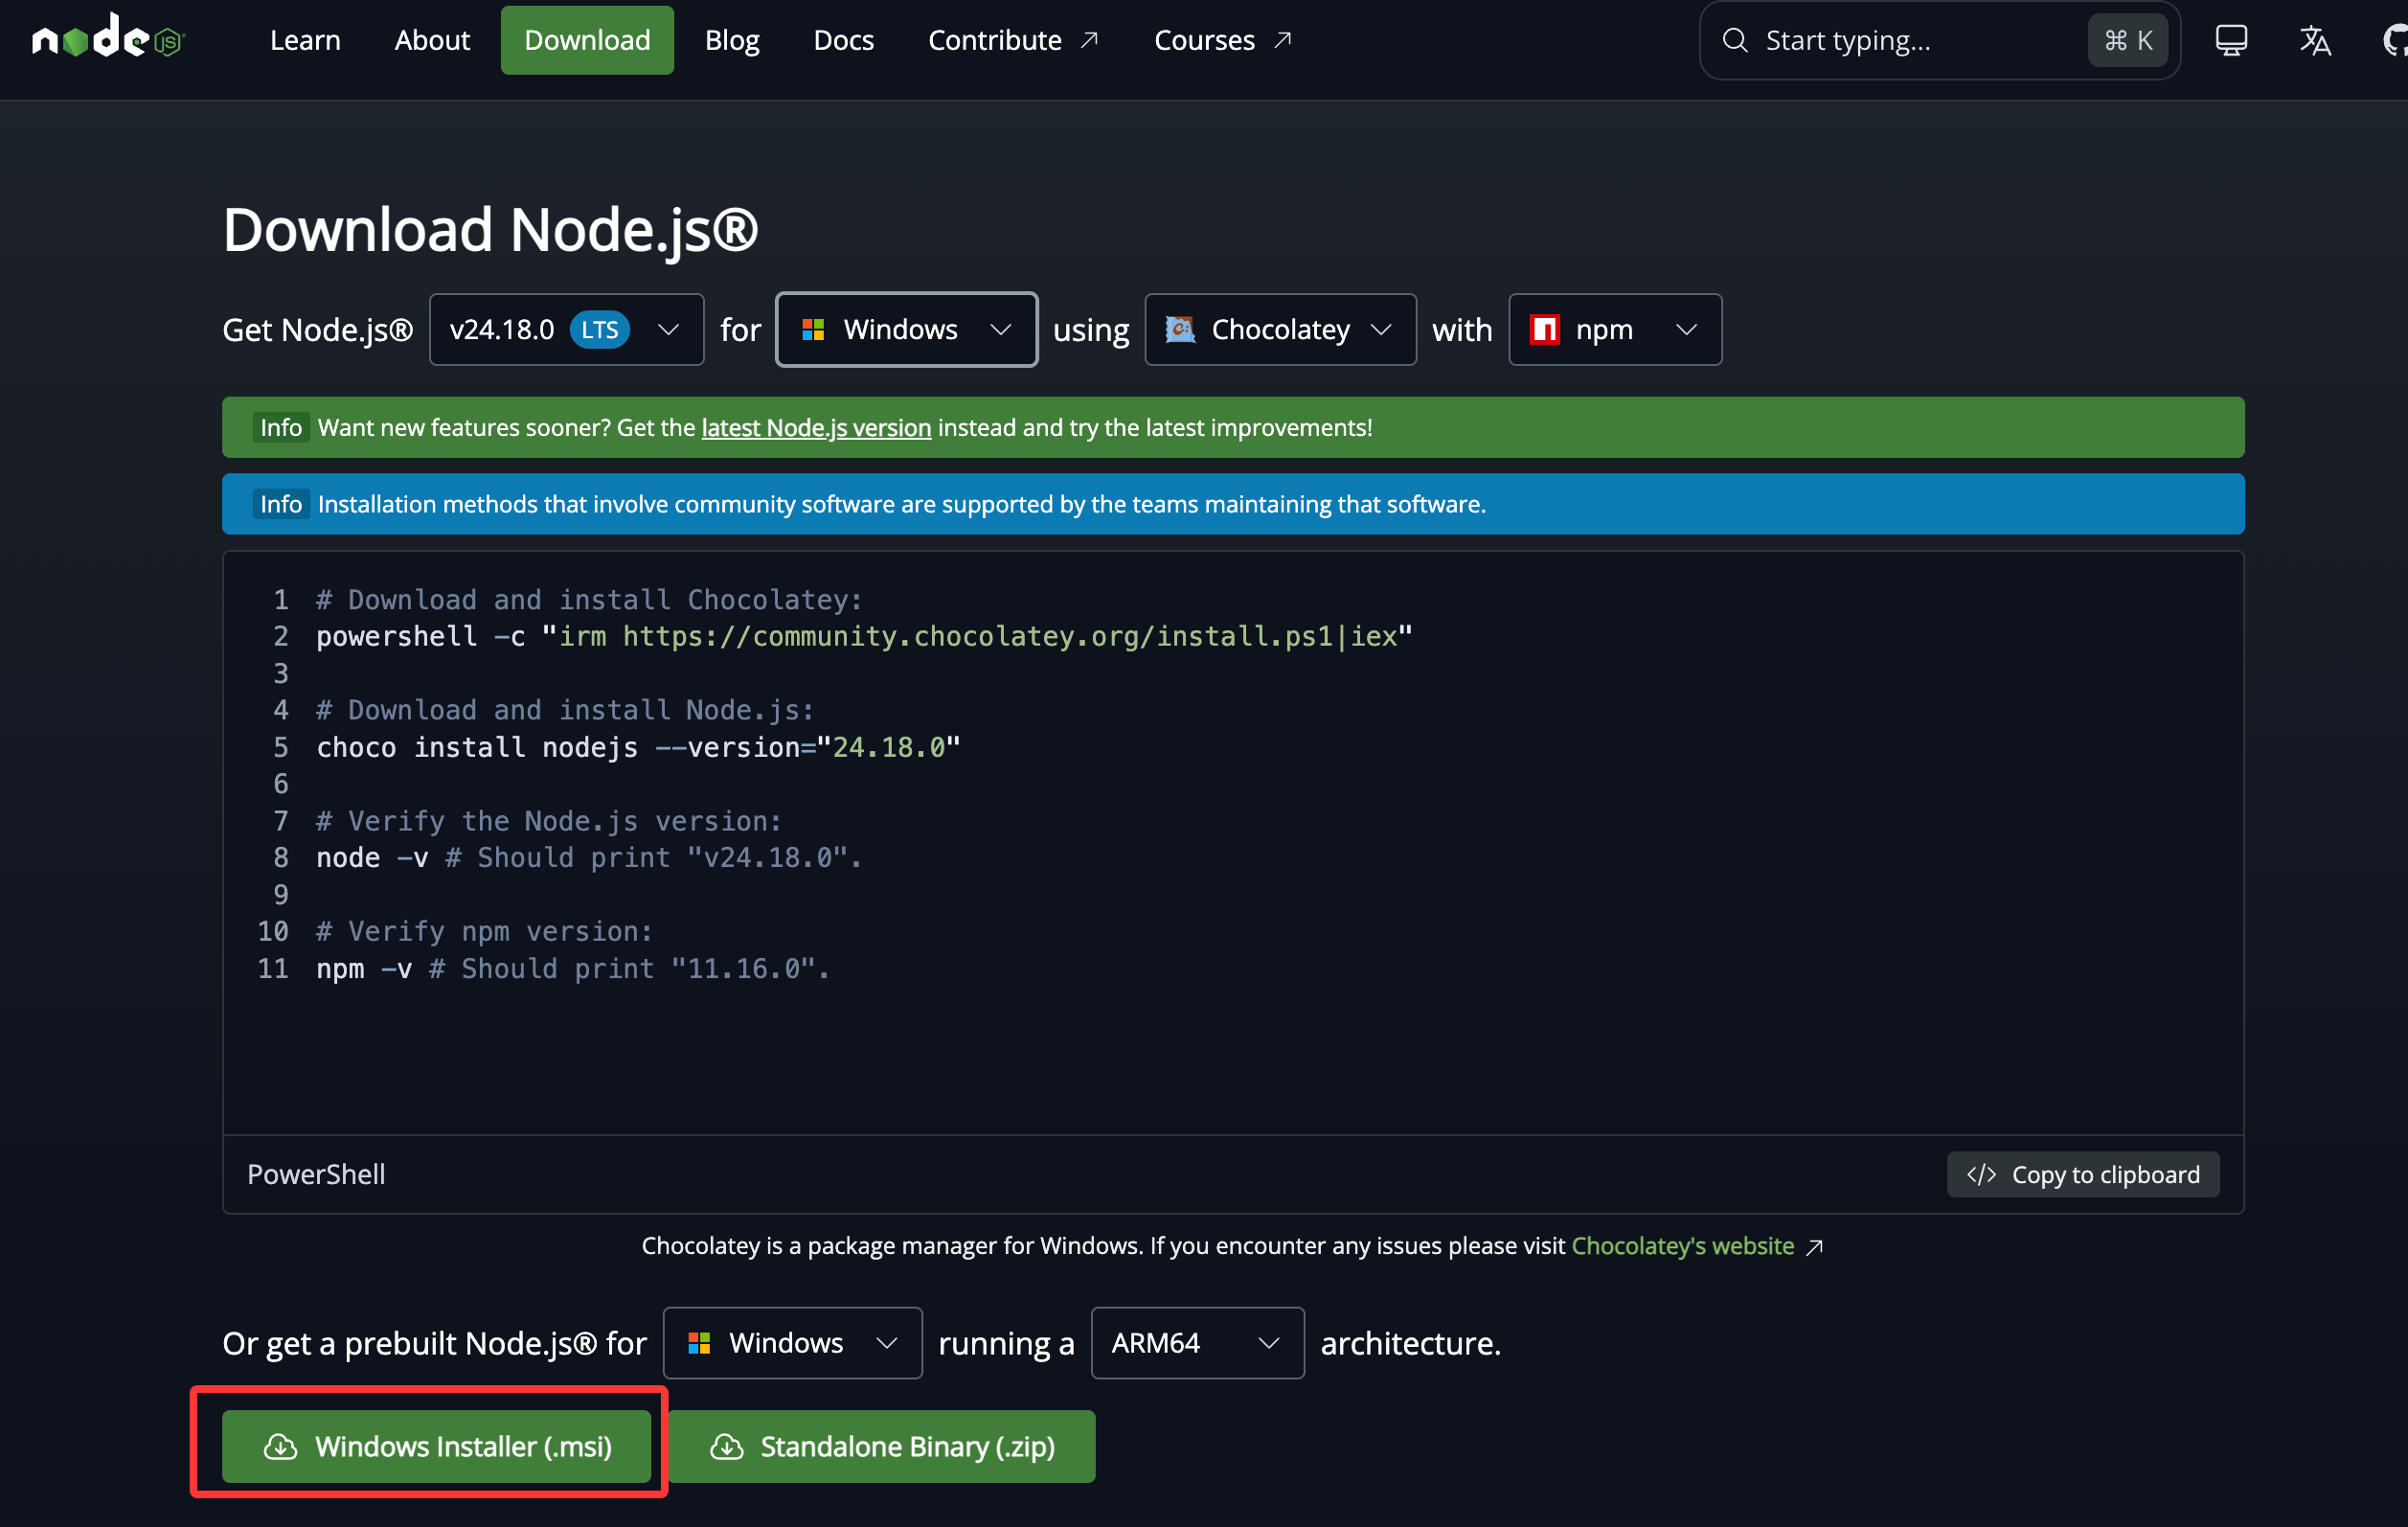
- Codex requires Node.js 22 or later. Install it from the official installer or via Homebrew (
brew install node).
- macOS users can also install Codex with Homebrew:
brew install codex. - In your terminal, run:
npm install -g @openai/codex
- After installation, check the version:
codex --version
Update, uninstall and common install errors
| Task | Command |
|---|---|
| Update Codex CLI (npm) | npm install -g @openai/codex@latest |
| Update Codex CLI (Homebrew) | brew upgrade codex |
| Uninstall (npm) | npm uninstall -g @openai/codex |
| Uninstall (Homebrew) | brew uninstall codex |
codex: command not foundafter installing: npm's global folder is not on yourPATH. Runnpm config get prefix, add thebinfolder under that path toPATHin~/.zshrcor~/.bashrc, then open a new terminal.EACCES: permission deniedduringnpm install -g: your global npm folder belongs to root. Install Node.js through a version manager such as nvm (recommended), or point npm to a folder you own withnpm config set prefix ~/.npm-globaland add~/.npm-global/bintoPATH. Avoidsudo npm install -g.- Errors about the Node.js version: run
node -v. Codex needs Node.js 22 or later; upgrade Node.js and install Codex again.
2. Connect to Moyi API
Configure the provider
macOS / Linux
Open a terminal, paste the full block below, and press Enter:
mkdir -p ~/.codex && cat > ~/.codex/config.toml <<'EOF'
model_provider = "moyiapi"
model = "gpt-6-sol"
model_reasoning_effort = "high"
[model_providers.moyiapi]
name = "Moyi API"
base_url = "https://api.moyi-api.com/v1"
env_key = "OPENAI_API_KEY"
wire_api = "responses"
EOF
Windows
Open PowerShell and run:
New-Item -ItemType Directory -Force -Path "$HOME\.codex" | Out-Null
@'
model_provider = "moyiapi"
model = "gpt-6-sol"
model_reasoning_effort = "high"

[model_providers.moyiapi]
name = "Moyi API"
base_url = "https://api.moyi-api.com/v1"
env_key = "OPENAI_API_KEY"
wire_api = "responses"
'@ | Set-Content -Path "$HOME\.codex\config.toml" -Encoding UTF8
Set the API key
Replace <your-Moyi API-key> with the API key you created in the Moyi API dashboard.
macOS
echo 'export OPENAI_API_KEY="<your-Moyi API-key>"' >> ~/.zshrc
source ~/.zshrc
Linux
echo 'export OPENAI_API_KEY="<your-Moyi API-key>"' >> ~/.bashrc
source ~/.bashrc
Windows
[Environment]::SetEnvironmentVariable("OPENAI_API_KEY", "<your-Moyi API-key>", "User")
Windows users: after running the command above, close the current PowerShell window and open a new one.
After both steps, run codex in the terminal. It will use Moyi API.
3. Enable Fast mode (optional)
Fast mode makes GPT-series models respond faster (gpt-5.6-sol runs up to 2.5x faster than Standard), billed at 2x the standard rate.
To enable it for the current session, type this inside Codex:
/fast
(/fast is a toggle — type it again to turn it off.)
To enable it permanently, add this line at the top of ~/.codex/config.toml:
service_tier = "fast"
All requests under this config will then use Fast mode.